Installing a GI (Galvanized Iron) pipe in a bathroom is a task that requires careful planning, the right tools, and a solid understanding of plumbing principles. As a trusted GI pipe supplier, I've witnessed firsthand the importance of a well - installed plumbing system in a bathroom. In this blog, I'll guide you through the step - by - step process of installing a GI pipe in a bathroom.
Step 1: Planning and Preparation
Before you start any installation work, it's crucial to have a clear plan. First, determine the layout of your bathroom's plumbing system. Consider the location of the fixtures such as the sink, toilet, and shower. Measure the distances accurately to ensure you cut the GI pipes to the right lengths.
You'll also need to gather all the necessary tools and materials. Here's a list of what you'll typically need:
- GI pipes of the appropriate diameter (usually 1/2 inch or 3/4 inch for bathroom plumbing).
- Pipe cutters: These are essential for cutting the GI pipes cleanly.
- Wrenches: Different sizes of wrenches will be needed for tightening joints.
- Thread seal tape: This helps prevent leaks at the threaded connections.
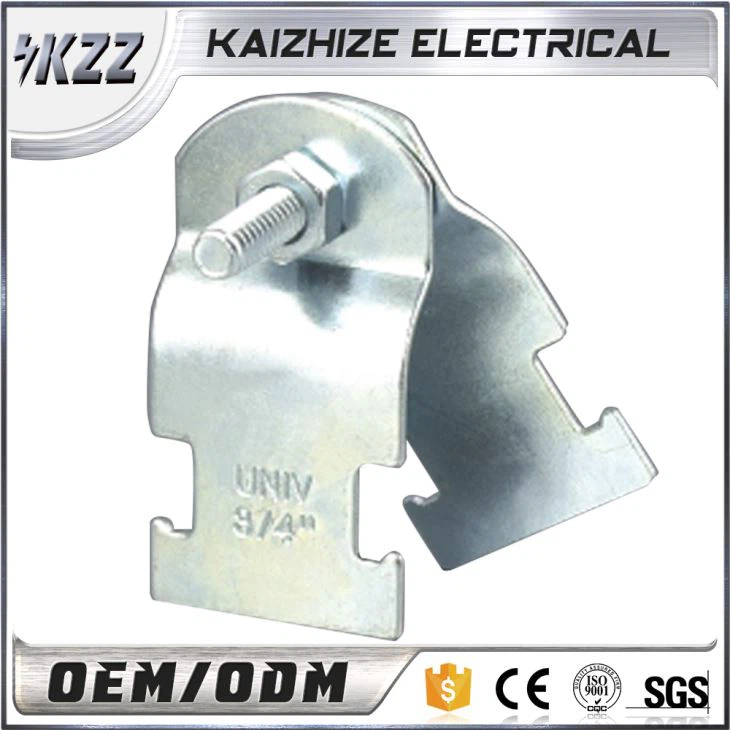
- EMT Strut Clamp: Useful for securing the pipes in place.
- EMT Compression Coupling Steel: For joining two pipes together.
- EMT Conduit Bushing Zinc: Can be used to protect the pipes and ensure a smooth connection.
Step 2: Cutting the GI Pipes
Once you have your plan and materials ready, it's time to cut the GI pipes. Use a pipe cutter to make clean, straight cuts. Place the pipe cutter around the pipe at the desired cutting point and tighten the cutter's screw. Rotate the cutter around the pipe while gradually tightening the screw until the pipe is cut through.
After cutting, use a file to remove any burrs or rough edges from the cut end of the pipe. This is important as burrs can cause leaks or damage the thread seal tape.
Step 3: Threading the Pipes
Most GI pipes used in bathroom plumbing have threaded ends. If your pipes are not pre - threaded, you can use a pipe threading machine to create the threads. Make sure to follow the manufacturer's instructions when using the threading machine.
When threading the pipes, be careful not to over - thread or under - thread. Over - threading can damage the pipe, while under - threading may result in a loose connection and potential leaks.
Step 4: Applying Thread Seal Tape
Before making any connections, wrap thread seal tape around the male threads of the pipe. Start from the end of the threads and wrap the tape in a clockwise direction. Make sure to wrap the tape tightly and evenly, covering all the threads. This tape helps create a watertight seal between the threaded connections.
Step 5: Making the Connections
Now it's time to start making the connections. Use the appropriate fittings such as elbows, tees, and couplings to connect the pipes according to your planned layout. For example, if you're connecting a pipe to a sink drain, you'll need an elbow fitting to change the direction of the pipe.
When connecting the pipes, use a wrench to tighten the joints. Make sure not to overtighten, as this can damage the pipes or fittings. A good rule of thumb is to tighten the joint until it's snug and then give it an additional 1/4 to 1/2 turn.
Step 6: Securing the Pipes
Once the connections are made, it's important to secure the pipes in place. Use EMT Strut Clamp to attach the pipes to the wall or floor studs. This helps prevent the pipes from moving or vibrating, which can cause leaks over time.
Space the clamps evenly along the length of the pipes, typically every 3 to 4 feet for horizontal pipes and every 6 feet for vertical pipes.
Step 7: Testing the System
After the installation is complete, it's crucial to test the plumbing system for leaks. Turn on the water supply and let the water flow through the pipes for a few minutes. Check all the connections for any signs of leakage. If you find a leak, turn off the water supply and tighten the joint slightly. If the leak persists, you may need to remove the joint, re - apply the thread seal tape, and reconnect it.

Step 8: Finishing Touches
Once the system is leak - free, you can make any final adjustments or clean up the area. Make sure all the pipes are properly secured and there are no loose fittings. You can also paint the exposed pipes to match the bathroom decor if desired.
Why Choose Our GI Pipes?
As a GI pipe supplier, we take pride in offering high - quality GI pipes that are durable, corrosion - resistant, and reliable. Our pipes are manufactured using the latest technology and strict quality control measures to ensure they meet the highest standards.
We also offer a wide range of pipe sizes and fittings to meet your specific bathroom plumbing needs. Whether you're a DIY enthusiast or a professional plumber, our products are designed to make your installation process as smooth as possible.
Contact Us for Your GI Pipe Needs
If you're planning a bathroom plumbing project and need high - quality GI pipes and fittings, we're here to help. Our team of experts can provide you with the right advice and products to ensure your project is a success. Contact us today to discuss your requirements and get a quote. We look forward to working with you on your next bathroom plumbing project.
References
- "Plumbing Handbook" by John Doe
- "Bathroom Plumbing Installation Guide" by Jane Smith